Alternative Canning: How to Can and Preserve Food Without a Pressure Canner
Just a heads up, this post contains some affiliate links. That means that we earn a small commission if you buy the product at no extra cost to you. That allows us to continue to research and share interesting articles with you. :)
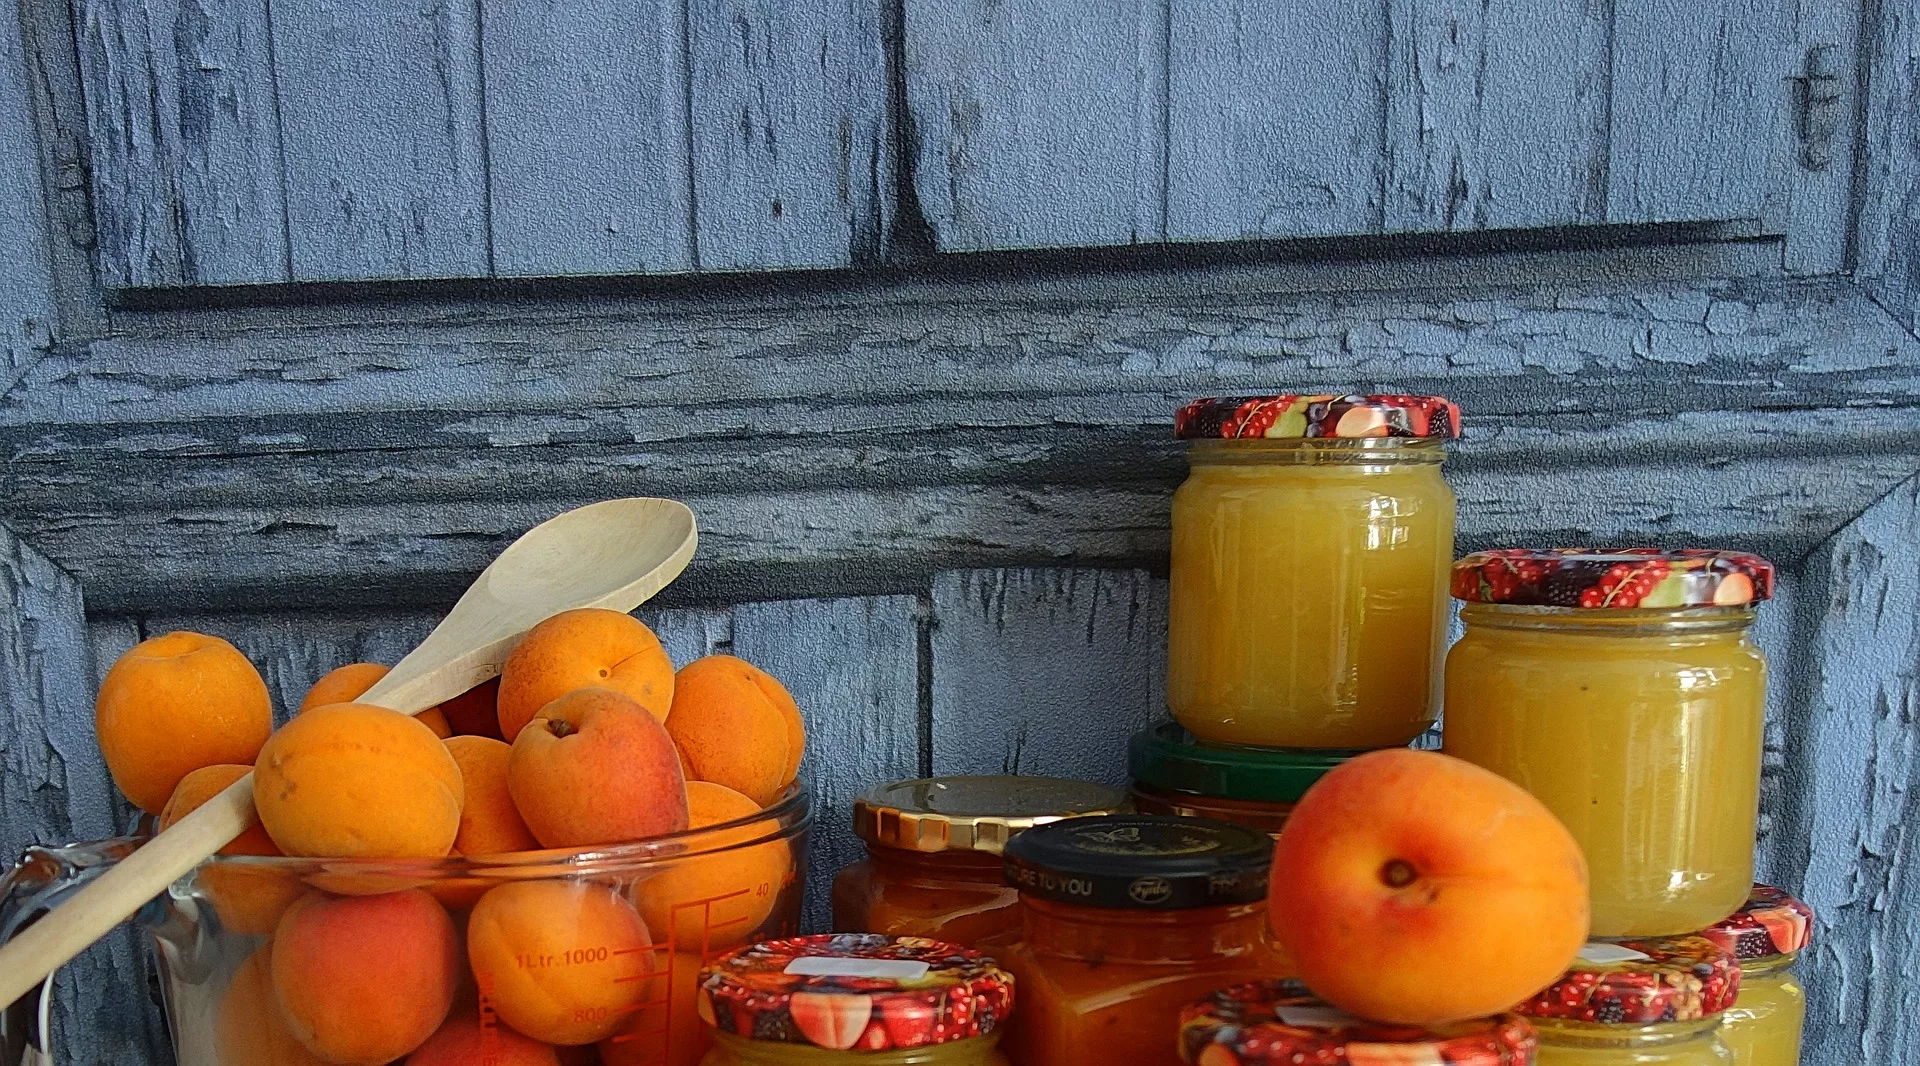
The first time I tried my hand at canning and preserving it was a warm late-summer day, and our local disused railway line was bursting with ripe, juicy blackberries.
As we picked them, my parents told me all about how to preserve these juicy berries and make jam from them. I was amazed that you could make jam for free That day, she taught me the art of canning and preserving, and it has become a cherished part of my life ever since.
Now, as a Good Lifer myself, I understand the importance of preserving the fruits (and vegetables) of our labour. Canning and preserving not only allow us to enjoy our homegrown produce all year round, but they also help us reduce waste, save money, and become more self-reliant.
However, one common misconception about canning and preserving is that you need a pressure canner to do it properly. While pressure canning is a popular method in the US, it’s not the only option available, especially for those of us in the UK.

Exploring Alternative Canning Methods
So, how do you can and preserve food without a pressure canner? The answer lies in exploring alternative preservation methods, such as water bath canning, open kettle canning, dry canning, fermentation, and freezing.
Each method has its own set of advantages and is suitable for preserving different types of foods. By learning and utilising these methods, you can create a wholesome, eco-friendly, and self-sufficient pantry filled with your homegrown produce.
In this article, we’ll dive into these alternative methods and show you how to get started with each one. We’ll cover the equipment needed, the types of foods that work best, and even suggest products that can make your preservation journey a breeze.
Along the way, we’ll also share some personal anecdotes and tips we’ve picked up from years of canning and preserving.
The key to a sustainable, self-reliant lifestyle is mastering the art of food preservation. Not only does it allow you to enjoy your homegrown produce all year round, but it also fosters a deeper connection to your food and the earth it comes from.
So, without further ado, let’s dive into the world of canning and preserving without a pressure canner, and discover how you can make the most of your bountiful harvest.
Water Bath Canning
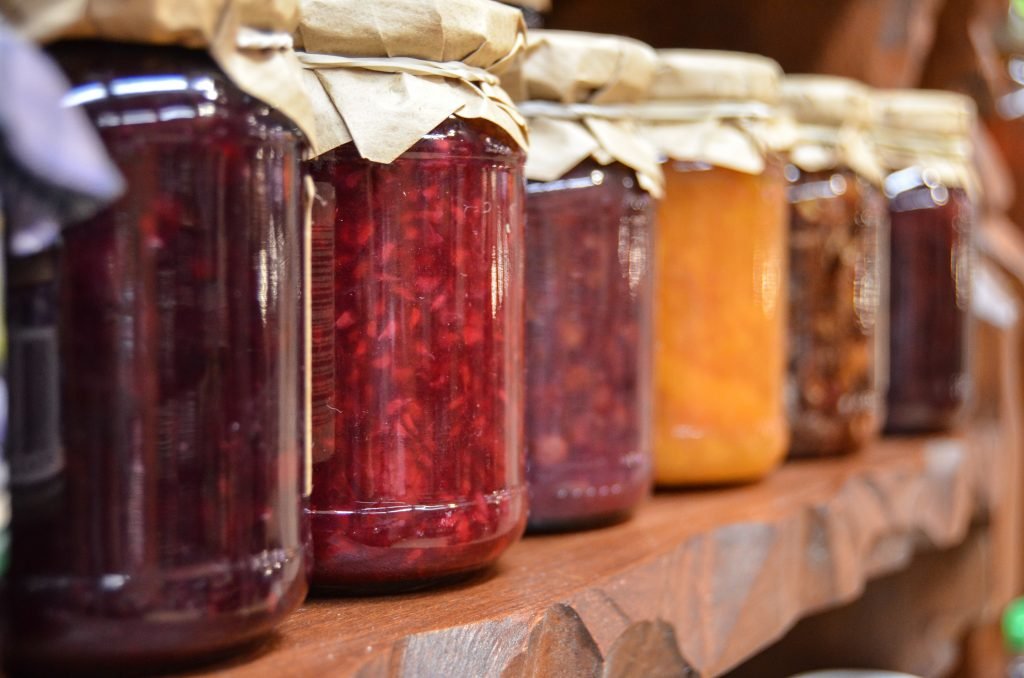
Water bath canning is a popular and straightforward method of preserving high-acid foods such as fruits, jams, jellies, pickles, and salsas.
By submerging the filled jars in boiling water, this method effectively kills bacteria and creates a vacuum seal, keeping your food fresh and safe for an extended period.
Equipment needed for water bath canning includes:
- A large pot with a lid
- Canning jars, lids, and bands (if using the Mason Jar style of jars, otherwise twist grip lids work fine)
- Jar lifter
- Canning funnel (these are not necessary but incredibly useful)
- A bubble remover/headspace tool – a silicone spatula works great for this.
Here’s a step-by-step guide to water bath canning:
- Sterilise your canning jars, lids, and bands by washing them in hot soapy water and then boiling them in the pot for 10 minutes.
- Prepare your chosen recipe (e.g., fruit preserves, pickles, etc.) and fill the sterilised jars, leaving the recommended headspace for expansion.
- Use a bubble remover to release any trapped air bubbles and wipe the jar rims clean with a damp cloth.
- Secure the lids and bands onto the jars, being careful not to overtighten.
- Fill your pot with enough water to cover the jars by at least 2.5 cm (1 inch) and bring it to a rolling boil.
- Carefully lower the filled jars into the boiling water using a jar lifter, ensuring they do not touch each other or the sides of the pot.
- Process the jars in the boiling water for the recommended time based on your recipe and altitude.
- Once the processing time is complete, carefully remove the jars from the pot and let them cool undisturbed for 12-24 hours.
- Check the seals by pressing the centre of the lids; if they do not flex, the jars are properly sealed.
- Label and store your preserved food in a cool, dark place.
Product suggestion: Canning Supplies Starter Kit – This comprehensive kit includes essential tools for water bath canning, such as a jar lifter, canning funnel, and a bubble remover/headspace tool.
Open Kettle Canning
Open kettle canning is a traditional canning method in the UK and works well for high-acid foods, much like water bath canning.
The main difference is that in open kettle canning, the jars are sterilised and kept hot, they are then filled with hot food and sealed immediately without further processing in boiling water.

Equipment needed for open kettle canning includes:
- A large pot or kettle
- Canning jars, lids, and bands (if using the Mason Jar style of jars, otherwise twist grip lids work fine)
- Jar lifter
- Canning funnel (these are not necessary but incredibly useful)
- A bubble remover/headspace tool – a silicone spatula works great for this.
Here’s a step-by-step guide to open kettle canning:
- Sterilise your canning jars, lids, and bands by washing them in hot soapy water and then boiling them in the pot for 10 minutes.
- Prepare your chosen recipe (e.g., fruit preserves, pickles, etc.) and heat it to boiling.
- Fill the sterilised jars with the hot food, leaving the recommended headspace for expansion.
- Use a bubble remover to release any trapped air bubbles and wipe the jar rims clean with a damp cloth.
- Secure the lids and bands (if needed) onto the jars, being careful not to overtighten.
- Allow the jars to cool undisturbed until the lids form a vacuum seal.
- Check the seals by pressing the centre of the lids; if they do not flex, the jars are properly sealed.
- Label and store your preserved food in a cool, dark place.
Product suggestion: KitchenCraft Jam Pan – This large, high-quality pan is perfect for open kettle canning, as it provides even heat distribution and features a convenient pouring spout.
Dry Canning
Dry canning, also known as oven or dehydrator canning, is ideal for low-moisture foods such as grains, nuts, and dried fruits. By removing moisture and sealing the jars, this method prevents spoilage and preserves the food for an extended period.
Equipment needed for dry canning includes:

- Oven or dehydrator
- Canning jars, lids, and bands (if needed, twist grip lids work fine)
Here’s a step-by-step guide to dry canning:
- Sterilise your canning jars, lids, and bands by washing them in hot soapy water and then boiling them in a pot for 10 minutes.
- Preheat your oven to 95°C (200°F) or set your dehydrator according to the manufacturer’s instructions.
- Fill the sterilised jars with the dry food, leaving some headspace for expansion.
- Wipe the jar rims clean with a damp cloth.
- Secure the lids and bands onto the jars, being careful not to overtighten.
- Place the filled jars in the oven or dehydrator and process them for the recommended time based on your chosen food and equipment.
- Once the processing time is complete, carefully remove the jars from the oven or dehydrator and let them cool undisturbed.
- Check the seals by pressing the centre of the lids; if they do not flex, the jars are properly sealed.
- Label and store your preserved food in a cool, dark place.
Product suggestion: Excalibur 9-Tray Electric Food Dehydrator with Adjustable Thermostat – This versatile dehydrator offers plenty of space for drying a variety of foods and features adjustable temperature control for optimal results.
Fermentation
Fermentation is an age-old method of preserving vegetables, fruits, dairy, and even beverages like kombucha. The process involves the growth of beneficial bacteria, yeasts, or fungi, which break down the sugars in the food and produce lactic acid, alcohol, or carbon dioxide, preserving the food and often adding unique flavours.
Health benefits of fermented foods include probiotics for improved digestion, enhanced nutrient absorption, and a stronger immune system.
Equipment needed for fermentation includes:
- Fermentation crock or glass jar
- Fermentation weights
- An airlock – some fermentation methods allow you to use a piece of muslin coth secured over the jar only
Here’s a step-by-step guide to fermentation:
- Clean your fermentation crock or glass jar with hot soapy water and rinse thoroughly.
- Prepare your chosen recipe (e.g., sauerkraut, kimchi, etc.) and pack the mixture tightly into the crock or jar, leaving some headspace for expansion.
- Place the weights on top of the mixture to keep it submerged in the brine or liquid.
- Secure the airlock onto the crock or jar to allow gases to escape while preventing contaminants from entering.
- Store the fermenting food at room temperature, away from direct sunlight, and let it ferment for the recommended time based on your recipe.
- Once the fermentation is complete, transfer the finished product to clean, sterilised jars and store them in the refrigerator or a cool, dark place.
Product suggestion: Fermentation Crock Jar – This stylish and functional crock features a water-seal airlock system, making it easy to ferment your favourite foods at home.
Freezing
Freezing is a simple and effective way to preserve various types of foods, such as vegetables, fruits, and herbs. By storing the food at low temperatures, freezing slows down the activity of enzymes and microorganisms, helping maintain the food’s quality, nutrients, and flavours.
Equipment needed for freezing includes:
- Reusable freezer bags or a vacuum sealer – we use press-lock silicone reusable bags and they are excellent
- Label and marker – We actually put QR codes on our freezer meals to help keep track of the inventory
Here’s a step-by-step guide to freezing:
- Wash and prepare your chosen food (e.g., blanching vegetables, slicing fruits, etc.).
- Pat the food dry with a clean towel to remove excess moisture.
- Arrange the food in a single layer on a baking sheet and place it in the freezer for a couple of hours to pre-freeze. This step prevents the food from sticking together during the freezing process.
- Transfer the pre-frozen food to freezer bags or vacuum seal them, removing as much air as possible.
- Label the bags or vacuum-sealed packages with the contents and date.
- Store the frozen food in your freezer, ensuring it maintains a consistent temperature of -18°C (0°F) or below.
Product suggestion: FoodSaver Multi-Use Food Preservation System – This handy device helps remove air from the packaging, ensuring a tight seal and extending the shelf life of your frozen foods.
Conclusion
In this article, we’ve explored various food preservation methods that don’t require a pressure canner, including water bath canning, open kettle canning, dry canning, fermentation, and freezing. Each method has its own advantages and is suitable for preserving different types of foods.
By learning and utilising these techniques, you can create a wholesome, eco-friendly, and self-sufficient pantry filled with your homegrown produce.
As a Good Lifer, mastering the art of food preservation is essential for a sustainable, self-reliant lifestyle. Not only does it allow you to enjoy your homegrown produce all year round, but it also fosters a deeper connection to your food and the earth it comes from.
So, gather your harvest, roll up your sleeves, and start preserving your way to a better, more sustainable life.
Canning FAQs
What is the shelf life of preserved foods using these methods?
The shelf life of preserved foods varies depending on the method used, the type of food, and storage conditions. Generally, canned and fermented foods can last for up to a year or more, while frozen foods can last for several months to a year. Dry-canned foods have the longest shelf life, often lasting for several years.
How do I know if my preserved food has gone bad?
Signs of spoilage may include an off smell, mould growth, a bulging or leaking lid, or changes in texture, colour, or flavour. If you suspect your preserved food has gone bad, it’s best to err on the side of caution and discard it.
Can I combine preservation methods for better results?
Yes, combining preservation methods, such as freezing and then vacuum sealing, can help extend the shelf life of your food and maintain its quality. Experiment with different methods to find the best combination for your specific needs.
How can I maintain proper hygiene while preserving food?
Always start by thoroughly washing your hands, workspace, equipment, and produce. Sterilise canning jars, lids, and bands, and follow the recommended processing times and temperatures for each preservation method. Store preserved foods in a cool, dark place and check for signs of spoilage regularly.
Back To The Good Life is a participant in the Amazon Services LLC Associates Program, an affiliate advertising program designed to provide a means for sites to earn advertising fees by advertising and linking to Amazon.com. We also participate in other affiliate programs which compensate us for referring traffic.

