13 Essential Steps to Prepare Your Allotment Soil for Thriving Crops
Just a heads up, this post contains some affiliate links. That means that we earn a small commission if you buy the product at no extra cost to you. That allows us to continue to research and share interesting articles with you. :)
Starting an allotment is an exciting journey, but before the fun of planting begins, there’s some important groundwork to be done – quite literally. To prepare allotment soil properly is one of the most crucial steps to ensure your crops thrive throughout the season. When I first got my allotment; it felt like a blank canvas full of possibilities, but I quickly learned that a well-prepped soil is the foundation of success.
In this article, we’ll walk through the essential steps to get your soil ready for planting, so you can create a productive and flourishing allotment. From clearing the land of pesky weeds to enriching your soil with organic matter, these tasks might seem a little laborious, but they will pay off when your plants grow strong and healthy.
So, grab your gloves and get ready to transform your plot into a gardener’s paradise!
Preparing Your Allotment Soil: Getting Your Allotment Ready for Planting
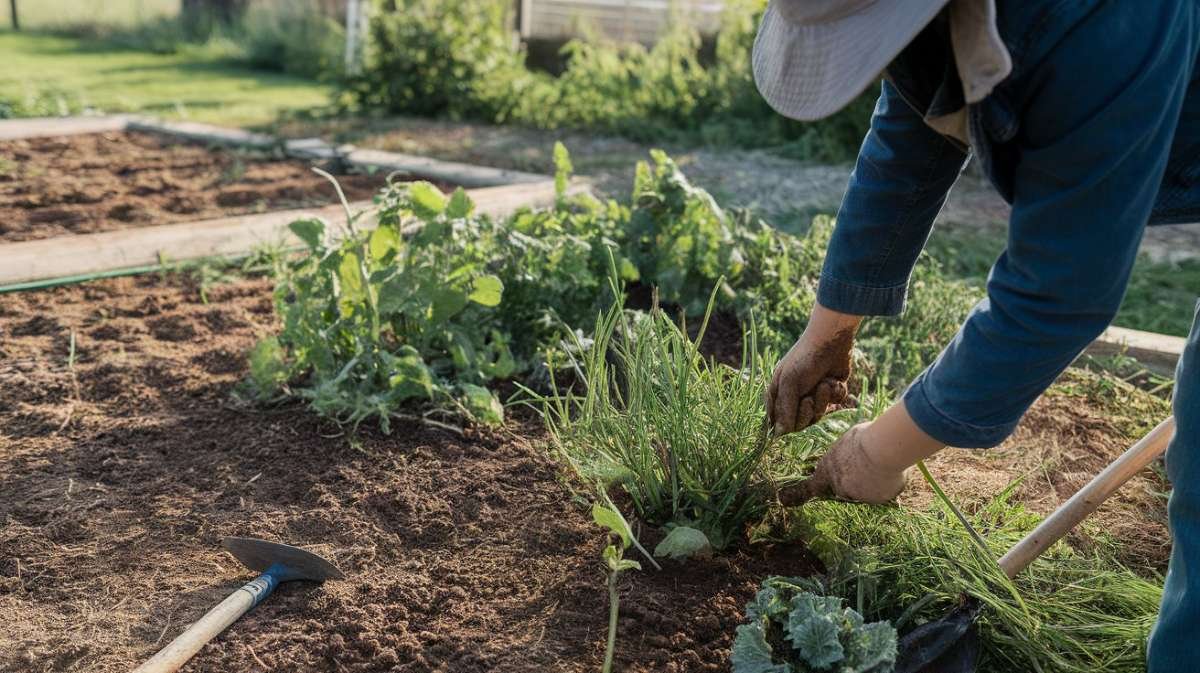
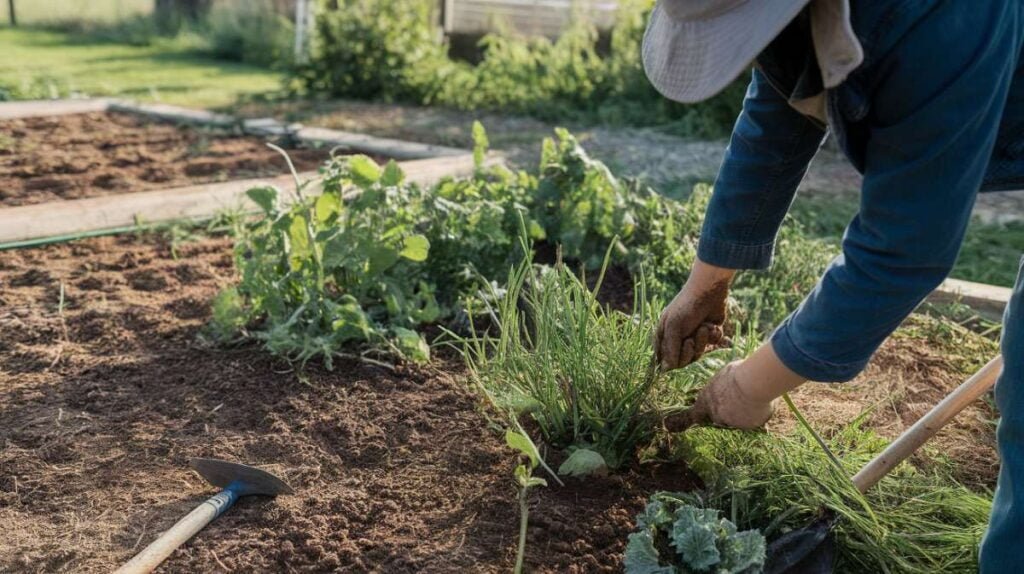
When it comes to preparing the soil for your allotment, there are a few important steps to follow. First, start by clearing the area of any debris or weeds. I remember when I first started my allotment, I was amazed at how quickly weeds could take over if left unchecked. So, I made sure to spend a good amount of time pulling out the stubborn ones and clearing away any other unwanted plants. Removing these obstacles will give your future crops the best chance to thrive.
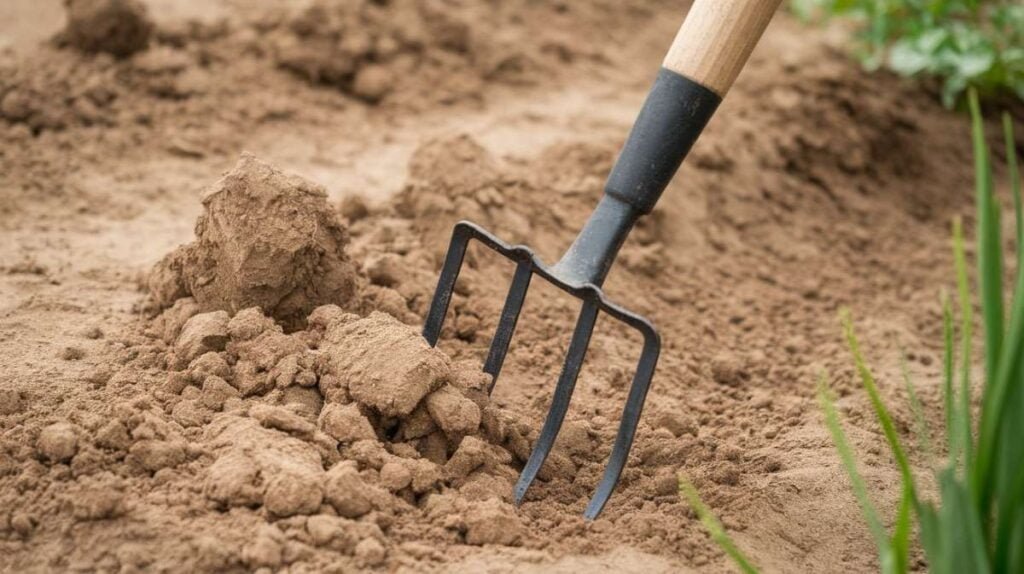
After clearing the area, it’s time to improve the soil quality by adding organic matter. This could be in the form of well-rotted manure, compost, or even leaf mould. I have found that adding compost not only enriches the soil but also helps with moisture retention. Spread a generous layer of organic matter over the top of the soil and use a garden fork or shovel to work it in.
It’s amazing how this simple step can make such a difference in the health and productivity of your plants. With these preparations done, your allotment soil will be ready to welcome your plants and provide them with the nutrients they need to grow and thrive.
Choosing the Right Crops: What to Grow in Your First Allotment
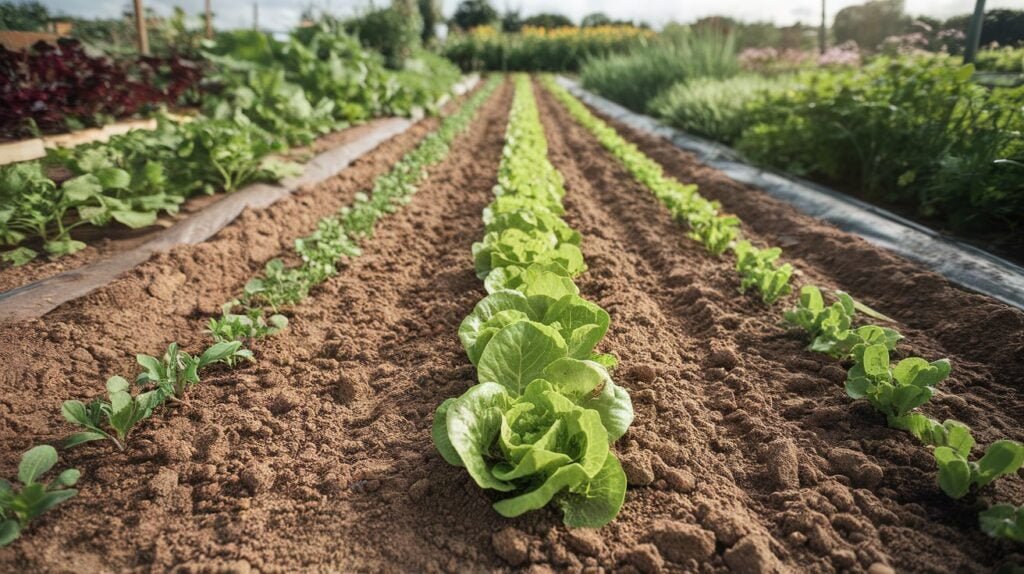
When it comes to deciding what to grow in your first allotment, it’s best to start with crops that are easy to manage and have a high success rate. One of my personal favourites for beginners is lettuce. It’s quick to grow and requires minimal space. Plus, there’s nothing quite like picking fresh lettuce leaves for a salad straight from your own garden. Another great choice is radishes. These little root vegetables are so satisfying to pull out of the ground, and they’re ready to harvest in just a few weeks. They’re also perfect for adding a peppery kick to salads or sandwiches.
If you’re looking to add some colour to your allotment, why not try growing cherry tomatoes? These compact plants are perfect for small spaces and produce an abundance of sweet, juicy fruits.
Understanding Sunlight and Shade: Placing Your Plants for Optimal Growth
Sunlight is one of the key factors in determining the success of your allotment garden. Choosing the right spot for your plants is essential to ensure optimal growth. When planning the layout of your allotment, take into consideration the movement of the sun throughout the day. Observe how the light falls on different parts of your plot. This will help you identify the areas that receive the most sunlight and those that are shadier.
In my experience, I’ve found that leafy vegetables such as lettuce and spinach prefer partial shade. These delicate plants can quickly wilt and turn bitter if exposed to too much direct sunlight. On the other hand, fruits like tomatoes and peppers thrive in full sun. They need a minimum of six to eight hours of direct sunlight daily to produce a bountiful harvest. By strategically placing your plants based on their light requirements, you can create a thriving allotment garden that maximises growth and productivity.
Watering Wisely: Tips for Properly Hydrating Your Allotment
Watering your allotment may seem like a straightforward task, but it’s essential to do it correctly to ensure the health and vitality of your plants. One of the most common mistakes beginners make is overwatering their allotments. I remember when I first started gardening, I would water my plants every day, thinking that more water meant better growth. However, I soon learned that this was not the case.
Overwatering can lead to waterlogged allotment soil, root rot, and the growth of harmful fungi and bacteria. As a general rule, it’s best to water your allotment when the top inch of soil feels dry to the touch. This way, you’re giving your plants the right amount of hydration they need without drowning them.
Another important aspect of watering your allotment is ensuring that the water reaches the root zone. When I started, I used to water from above, splashing water all over the leaves and stems. Little did I know that this method wasn’t effective in getting the water where it was needed the most. To avoid wastage and ensure efficient watering, it’s best to water the plant’s base, directly onto the allotment soil. This will allow the water to penetrate the root zone, where the plants can absorb it properly.
Using a watering can or a hose with a gentle spray nozzle can help you achieve this. Remember, it’s better to water deeply and less frequently than to give your allotment a superficial sprinkle. By following these tips, you’ll be watering wisely and keeping your plants happy and hydrated throughout the growing season.
Weeding 101: How to Keep Your Allotment Soil Weed-Free
Weeding is an essential task in maintaining a weed-free allotment. It may seem tedious at first, but once you get into the routine, it becomes quite therapeutic. One of the best ways to keep your allotment weed-free is by starting with a clean slate. Before planting, carefully remove any existing weeds and their roots from your allotment soil. This will help prevent them from regrowing and competing with your crops. Trust me, I learned this the hard way in my first year, when I neglected to remove the weeds properly. It turned into a battle that I had to fight throughout the entire growing season. So, take my advice and tackle the weeding head-on before you start planting.
Now, let’s talk about regular weeding maintenance. It’s important to keep on top of the weeds to prevent them from taking over your precious allotment. A little bit of effort goes a long way in this regard. Whenever you spot a weed, don’t procrastinate. Grab your trusty garden hoe or hand trowel and remove it as soon as possible. Remember, weeds can quickly multiply and spread their seeds, so nip them in the bud, quite literally! I find it helpful to dedicate a specific time each week to weed my allotment. It’s a time when I can disconnect from the world and simply focus on nurturing my plants while keeping those pesky weeds at bay.
Fertilising Your Allotment Soil: Feeding Your Plants for Healthy Growth
When it comes to feeding your plants and ensuring healthy growth in your allotment, fertilising is key. By providing essential nutrients, you can boost the overall health and productivity of your crops. My allotment journey began with a few rookie mistakes, but getting the fertilising right made a world of difference.
Finding the right fertiliser for your allotment can be a bit overwhelming, given the wide range of options available. I remember spending hours at the garden centre, scratching my head and questioning which one to choose. But fear not, fellow gardeners!
After some trial and error, I discovered that organic fertilisers, such as well-rotted manure or compost, worked wonders for my allotment. Not only did they enrich your allotment soil, but they also improved its structure, allowing my plants to thrive. So, if you’re uncertain about the type of fertiliser to use, why not give organic options a go? Your plants will thank you for it.
When it comes to compost choice to start a bed off, I’ve had great results using Natural Grower Organic Compost in my allotment. It’s completely organic and peat-free, which is a huge plus for eco-conscious gardeners. I love that it’s chemical-free and safe for wildlife, so I can use it confidently around my veg and flower beds. Whether I’m planting seedlings, flowers, or vegetables, this compost provides excellent nutrients and promotes strong, healthy growth. It’s especially perfect for container gardening, and when mixed with their slow-release fertiliser, it really helps plants thrive!
Companion Planting: Maximising Space and Productivity in Your Allotment
One of the best ways to make the most of your allotment space is through companion planting. This clever technique involves planting different crops together that can benefit each other, maximising productivity and conserving space. I learned about this method when I first started my allotment journey, and let me tell you, it has been a game-changer.
One of my favourite combinations is planting marigolds alongside my tomato plants. Not only do the marigolds add a pop of vibrant colour to my allotment allotment, but they also act as natural pest repellents. Their strong scent keeps away insects that can harm my precious tomatoes. It’s like having bodyguards for my plants! Plus, marigolds are pretty low-maintenance themselves, so they don’t require much attention on my part. It’s a win-win situation, and I highly recommend giving it a try in your own allotment.
Protecting Your Allotment: Tips for Pest and Disease Prevention
Pests and diseases can wreak havoc on your beloved allotment, but fear not! With a few simple tips and tricks, you can protect your plants and ensure a bountiful harvest. First and foremost, prevention is key. It’s always easier to stop pests and diseases from appearing in the first place than to try and get rid of them once they’ve taken hold.
One effective technique is to practice crop rotation. Rotating your crops each year, you can disrupt the life cycle of many pests and minimise the risk of diseases spreading. I’ve found this to be particularly helpful in warding off those pesky aphids that tend to attack my brassicas. So, make sure you have a plan in place and rotate your crops to keep your allotment soil healthy and pest-free.
As good as crop rotation is, there has been some discussion in recent years about how useful it is for small-scale farming (like allotment). we recently did a video about other methods of pest control, feel free to check it out below.
In addition to crop rotation, it’s also important to keep a watchful eye on your plants for any signs of trouble. Regularly inspecting your allotment can help you catch potential issues early on, before they have a chance to spread.
I remember one summer, I noticed some strange spots on the leaves of my tomato plants. Concerned about a possible disease, I immediately researched the symptoms and discovered it was the early stages of blight. I promptly removed the affected leaves and applied a copper-based fungicide to prevent further spread. By taking swift action and keeping a close eye on my plants, I was able to salvage most of my tomato crop. So, never underestimate the power of observation and timely intervention in safeguarding your allotment soil from pests and diseases.
Extending the Growing Season: Techniques for Year-Round Allotment Gardening
As winter approaches and the days grow colder, many allotment gardeners begin to pack up their tools and bid farewell to their beloved produce, but for those of us who simply can’t bear the thought of an empty allotment plot, there are techniques that can be employed to extend the growing season and continue reaping the rewards of our hard work throughout the year.
One method that has proved successful time and time again is the use of cold frames. These simple structures act as miniature greenhouses, trapping heat and protecting plants from frost. I remember the first time I experimented with cold frames. It was a frosty November morning, and I was determined to keep my salad greens thriving for a few more weeks. With a few wooden pallets and some old windows, I constructed my own DIY cold frame. To my delight, it worked a treat! Even as the temperatures dropped, my lettuce and spinach continued to flourish, giving me a delicious supply of fresh greens well into December.
Planning for Success: Creating a Seasonal Allotment Planting Calendar
Creating a seasonal allotment planting calendar is key to ensuring a successful harvest year-round. By planning ahead and organising your planting schedule, you can maximise the productivity of your allotment and enjoy a variety of fresh fruits, vegetables, and herbs throughout the seasons.
Start by assessing the specific requirements of the crops you want to grow. Consider factors such as sunlight, allotment soil type, and water needs. For instance, if you’re keen on growing tomatoes, it’s essential to know that they thrive in direct sunlight and require well-draining allotment soil.
On the other hand, leafy greens like spinach and lettuce prefer partial shade and moist allotment soil. By understanding these plant preferences, you can allocate suitable areas within your allotment and create a planting plan that optimises growth and yield.
Additionally, take into account the length of the growing season and the average frost dates in your area. For example, if you live in a region with a short growing season, it’s important to choose fast-maturing varieties or consider using protective coverings such as cloches or row covers to extend the season.
Incorporating these factors into your planting calendar, you can strategise when to start seeds indoors or outdoors, when to transplant seedlings, and when to expect your first harvests. Remember, planning ahead saves you time and money, and ensures that you make the most of your allotment space.
Tools of the Trade: Essential Gardening Equipment for Allotment Beginners
When it comes to starting your allotment journey, having the right tools is essential. As a seasoned allotment gardener, I have learned through trial and error the importance of investing in quality equipment.
One tool that I cannot do without is a sturdy garden fork. It’s perfect for turning over the allotment soil and breaking up clumps, ensuring a loamy and well-drained bed for your plants. I remember when I first started, I made the mistake of using a flimsy fork that ended up bending under the weight of the allotment soil. Trust me, spending a little extra on a robust garden fork will save you a lot of frustration in the long run.
I highly recommend the Spear & Jackson Neverbend Carbon Digging Fork for tough allotment tasks. It’s forged from a single piece of steel, which gives it great strength, and the weatherproofed ash wood handle is durable yet comfortable to use. I love how sturdy it feels when turning compact soil, and the Supergrip handle makes it easy to control. Plus, it’s been awarded a Which? Best Buy—a real testament to its quality. If you’re looking for a reliable, long-lasting fork, this one won’t disappoint.
Another must-have tool for beginners is a hand trowel. This versatile little tool is perfect for planting seedlings and digging small holes. I vividly recall the time I forgot my hand trowel and attempted to plant my delicate lettuce seedlings with my hands. Let’s just say it was a messy and time-consuming endeavour! With a hand trowel, you’ll have precise control and won’t risk damaging your plants. From transplanting seedlings to scooping compost, this tool will quickly become your best friend in the allotment. Remember, when it comes to tools, it’s all about investing in quality and choosing the ones that suit your gardening needs.
Joining the Allotment Community: Making the Most of Your Gardening Network

When it comes to allotment gardening, joining the community can be incredibly beneficial. Not only does it provide an opportunity to connect with fellow gardeners, but it also offers a wealth of knowledge and experience that can greatly enhance your own gardening journey. I remember when I first started my allotment; I was eager to learn from others who had been tending their plots for years. Through the community, I was able to gather insights and tips on everything from allotment soil preparation to pest control.
One of the best ways to make the most of your gardening network is by participating in allotment events and workshops. These gatherings bring together like-minded individuals, allowing you to exchange ideas, share successes and failures, and learn from one another’s experiences. Whether it’s attending a pruning workshop or joining a seed swap event, these interactions offer a chance to expand your knowledge and form connections with people who share your passion for gardening. I remember attending a local allotment association meeting where members organised a garden tour. It was fascinating to see the different approaches to allotment gardening and pick up valuable tips along the way.
Allotment FAQs
What is an allotment?
In the UK, an allotment is a plot of land rented to an individual or a group of people for gardening purposes. It allows you to grow your own vegetables, fruits, herbs, or flowers.
What are the best crops to grow in my first allotment?
Beginners often find success with easy-to-grow crops like tomatoes, lettuce, carrots, beans, and herbs like basil or mint. Consider your preferences and the growing conditions in your area when selecting crops.
How often should I water my allotment?
It depends on the weather and the needs of your plants. As a general guideline, water deeply and thoroughly once or twice a week, rather than giving shallow and frequent watering. Ensure your allotment soil is evenly moist but not waterlogged.
How can I keep my allotment weed-free?
Regular weeding is essential to keep your allotment weed-free. Use a hoe or hand tools to remove weeds when they are small, before they have a chance to grow and spread. Mulching can also help suppress weeds.
What is companion planting and how can it help my allotment?
Companion planting involves growing certain plants together to benefit each other. For example, planting marigolds alongside tomatoes can help deter pests. It maximizes space, promotes healthier crops, and can increase productivity.
How can I prevent pests and diseases in my allotment?
Keep your allotment clean and free of debris, practice crop rotation, and encourage beneficial insects to control pests naturally. Regularly inspect your plants for signs of diseases or pests, and take appropriate measures if needed.
When and how should I harvest my allotment produce?
Harvesting times vary depending on the crop. Generally, harvest vegetables when they are at their peak ripeness. Use scissors or a sharp knife to cut produce, and handle them carefully to avoid damage.
Can I continue gardening in my allotment during the colder months?
Yes, you can extend the growing season by using techniques like cold frames, row covers, or polytunnels. These structures protect your plants from cold temperatures and allow you to grow crops well into the fall or even winter.
What are some essential gardening tools I’ll need for my allotment?
Basic tools for allotment gardening include a spade or fork, a hoe, hand tools like a trowel or cultivator, a watering can or hose, and a pair of gardening gloves. Additional tools like a wheelbarrow or a rake may also come in handy.
Back To The Good Life is a participant in the Amazon Services LLC Associates Program, an affiliate advertising program designed to provide a means for sites to earn advertising fees by advertising and linking to Amazon.com. We also participate in other affiliate programs which compensate us for referring traffic.

